
Where did I leave off? With a cutie doozin sitting in the bathroom staring at me?

No, that wasn't it.
Oh yeah, I left off having torn up half the bathroom on a random Friday off.
The tearing stuff off the wall thing was easy, it was harder doing the detail work and patching up. It was fairly tedious to scrape the decades old scraps of wallpaper away and smooth out the walls...and admittedly I could have done a better job here. As you can see, there's kind of a border around where the window blinds were - I'm honestly not sure when the blinds were installed, but it must have been a while ago because there was quite a few extra coats of paint surrounding them.
I was in a rush to clean things up before Sean got home, so I definitely rushed the next steps. I applied some lightweight spackle in the most uneven areas, but I probably could have spent some more time making sure everything was extra even. And waiting longer than 10 minutes before getting impatient and priming the walls over wet spackle. I am definitely not the most patient DIYer.
Anyway, here's what it looked like an hour or two after I began, after a coat of primer, and before Sean came home. Not quite as scary as above:
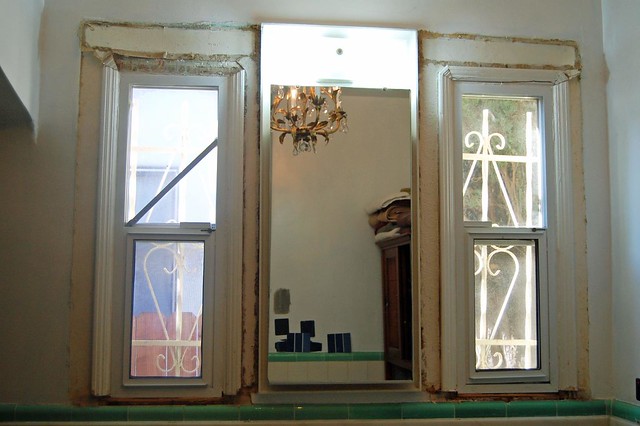
That's how I let things sit for a few days before deciding I should probably fix things up. Like I said, I didn't really have a plan, but I did know that I should probably put up some new molding because those windows were noooooot looking pretty. Speaking of windows, the windows in our bathroom are seriously awful. I don't know if you can get windows off of a sketchy clearance rack, but if you can, that's definitely where these came from. They're just awful and cheap looking, not to mention broken so they don't open properly.
So, I basically headed to Lowe's to wander around because I know absolutely nothing about installing molding. Turns out there's an entire aisle of it, so I wandered for a bit and pretty much randomly picked out a style that looked nice to me. I knew I wanted a thicker molding overall - mostly to cover up any imperfections - and something fairly ornate to match the rest of the house. If you'll notice above, the space on the bottoms of the window is pretty narrow, so I had to pick out a narrower piece of molding for down there. I don't know if that's a "thing," but let's go with it.
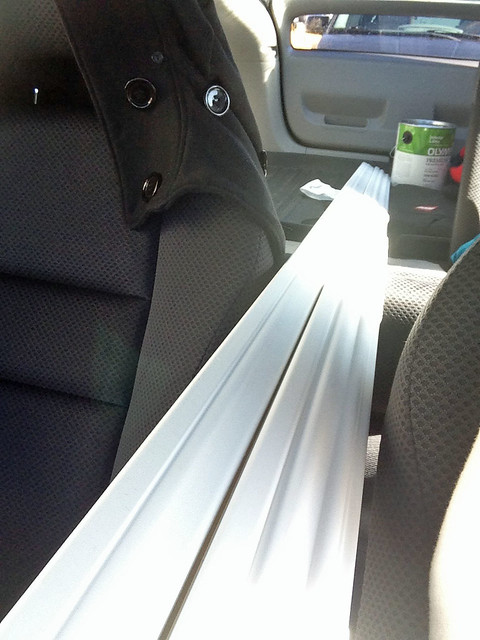
My triumphant return home from Lowes! I also grabbed a gallon of paint from one of the swatches that's been on the wall for several months.
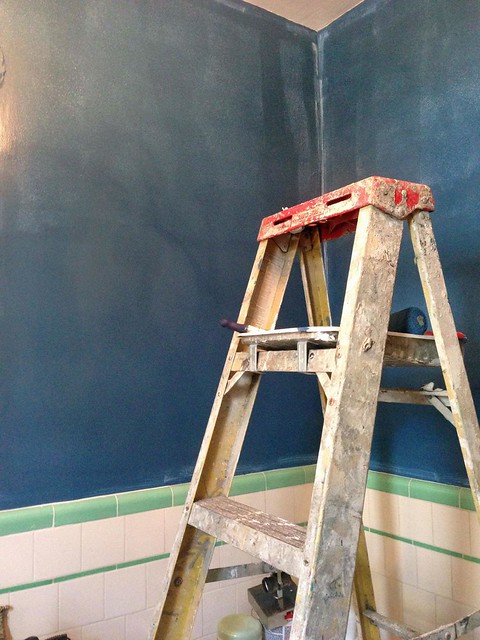
Time to paint!
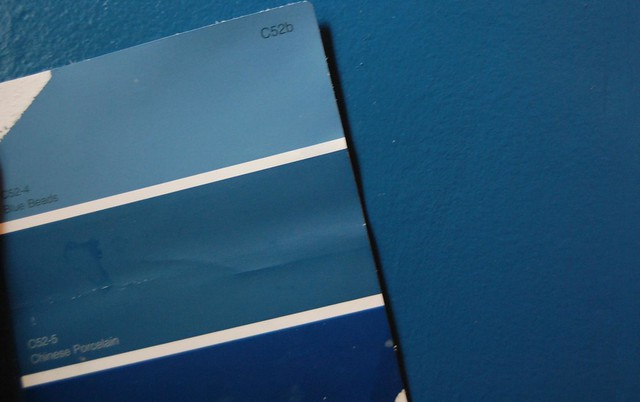
The paint I chose was called Chinese Porcelain by Olympic. I loved the color on the chip, but it is slightly different in person. I don't know how to explain it, but on the chip it's a little calmer blue, and in person it's more BLUE! I still like it, but it's slightly different than I thought.
The reason I chose blue is because there's quite a few tough shades to work with in the bathroom already - not least of which is the lime green tile. In addition, the wall tile is bright white, while the floor tiles are an odd off-white/beige with a hint of salmon. I wanted something that would look ok with all of these different shades and hopefully bring the color scheme together. I thought either a darker blue or gray would work, but since a lot of our house is gray I went with the blue. I initially envisioned more of a dark navy, but I painted a few swatches up and it was just wayyyy too dark.
Aaaaand...
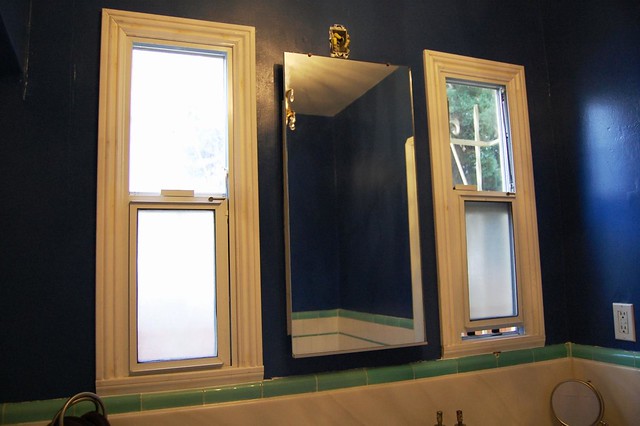
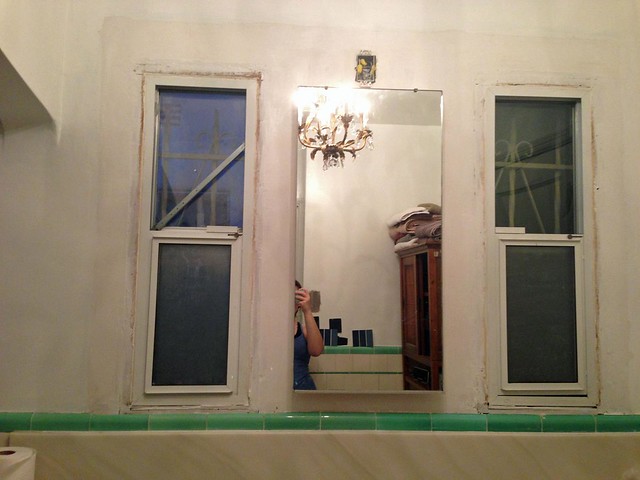
The bathroom is super hard to photograph because it's either dark or light is streaming in the windows, but here's the first peek at bathroom 2.0.
To install the molding, I just used a simple mitre box. I've never done molding before and obviously this would have been easier with a power saw, but since I didn't have many cuts to do I just did it by hand. Then I nailed it into the wood surrounding the windows, sunk the nail into the wood with a mini screwdriver (I don't have a nail set) and puttied over the nail holes.
I haven't painted the molding as of these pictures (ok, I haven't done it in real life either), so it'll look much better and brighter when I do.

You can kind of see in this next photo that I could have done a better job evening out the paint around where the window blinds used to be. Oops. Semigloss paint is also not very forgiving for uneven walls.
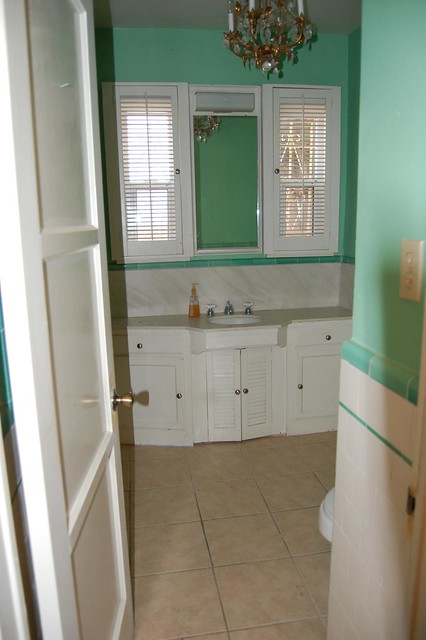
As a reminder, here's the before:
And hopefully improved (but still in progress) after:

On my list of future things to do is paint this grody bathroom vanity. Ew.
I also need to add a light over the mirror, but the trick is finding one that doesn't look totally weird with the chandelier. I'm thinking something simple like this (and I just realized the paint color matches the new bathroom...ha):

from Shades of Light
But I'm just not sure. Thoughts?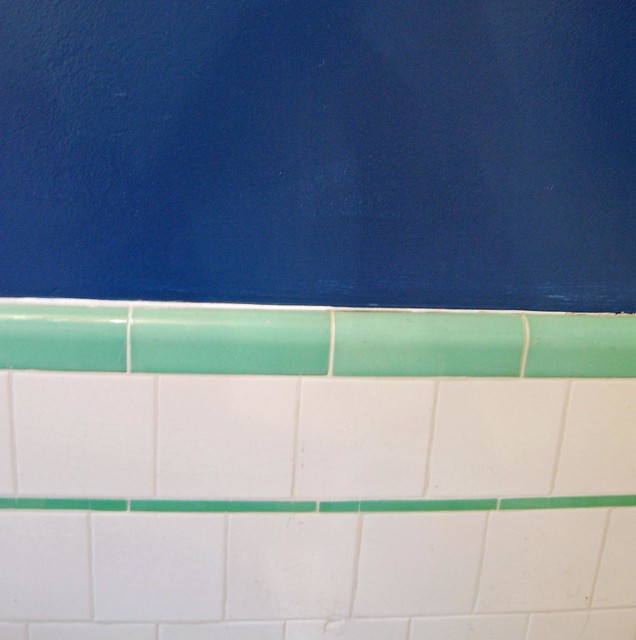
I actually think the paint works with the green tile...at least as well as any paint could ever work.
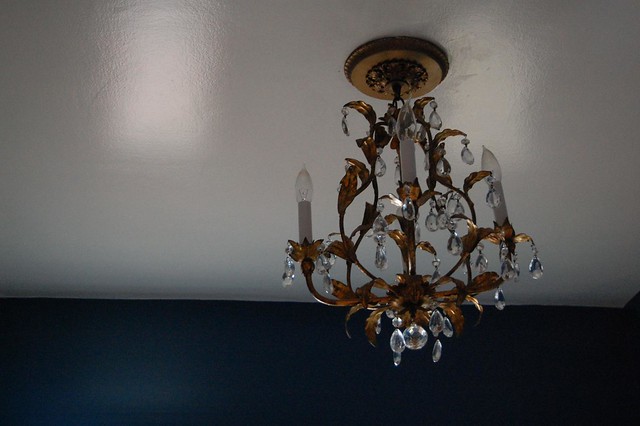
One of the most random things about our entire house is this chandelier in the bathroom. It's super fancy in an otherwise unremarkable space. However, with the darker blue paint as a background I feel like it kind of...works?
So, that's where bathroom things stand as of today. Nothing too fancy, but I think my total cost so far is at about $40 - just paint and molding. Even if we end up re-doing the bathroom, at least I won't feel bad about throwing money into a lost cause.
There's still a bit more to do, like:
- Paint the vanity with some bright white paint;
- Replace the vanity hardware;
- Replace the light above the mirror;
- Add matching accessories (new bath mats, storage, etc.)
- Add storage!
No comments:
Post a Comment