Tuesday, March 29, 2011

Fireplace before and after

We may be the only people in the world who aren't a fan of fireplaces.  I don't really understand the point in Southern California (it's warm here, if you haven't heard). 

Our living room fireplace takes up most of one wall and two of the other walls are filled with windows and/or archways.  So, the fireplace has also made living room setup quite a pain - you can't exactly stick anything in front of it and pretend it's not there. 

That, and it was kind of ugly.

(excuse the poorly lit iPhone pictures, including the second one which seems to have stretched poor Sean out)


We weren't a big fan of the red paint and brass fixtures - they were outdated and really sucked light out of the room.


...then we figured out we could remove the fixtures, which made a big difference in opening up the room...


...then Sean brought home a $5 can of charcoal-colored "oops" paint at Home Depot and I got to thinking....then taping...then painting.  We also painted the area around the fireplace to match the walls, and gave the mantle a few coats of white semi-gloss paint for more of a modern look.


...and this is the final result!  Terrible picture and dirty floor, but (if I do say so myself) the fireplace looks much better.  It feels more fun and modern and basically more our style.  I know it's cliche but it really never ceases to amaze me what a change a few coats of paint can make!

Speaking of paint, the wall paint looks like a totally different color in the last two pictures, but it's the same (Glidden colormatch of Benjamin Moore's Revere Pewter).  Depending on the light it really morphs from beige to grey.

Sunday, March 27, 2011

Progress!

Despite my constant state of stress and feeling like we're not getting anything done around here...we are, in fact, getting things done around here.  None of the rooms are finished but we've been focusing most of our attention on the living room and master bedroom and they're getting there.  The other rooms...let's not talk about that.  I'm trying not to have too much renovation ADD, which is tough because it's so easy to ignore the things you don't want to do (I'm looking at you, living room baseboards) and move on to more fun things (which is why I just spent 3 hours building furniture in the back yard).

Anyhow, I promised some master bedroom photos today and so here's a few before-and-afters.  Assuming that "after" means "after just a little bit of progress and no decorating."

Before:


The small size of the universe glued on the wall is totally out of proportion with what a huge pain in the ass it was to remove.  Don't even get Sean started about the 170 glow-in-the-dark stars he peeled off the ceiling.  Yes, he counted.

After:


Horray for a smooth ceiling and walls!  We painted the walls Glidden's Navajo Sand after trying (literally) about 10 different colors.  For some reason the light in this room makes every swatch of paint look about 57 shades darker than it did in the store.  I originally thought this color was too close to plain off-white but (Sean was right) it actually reads as the slightly darker beige we were going for.  I want to keep the bedroom pretty light and airy so I thought a nice light neutral color on the walls would be a good place to start.  But really I don't know what I'm talking about.

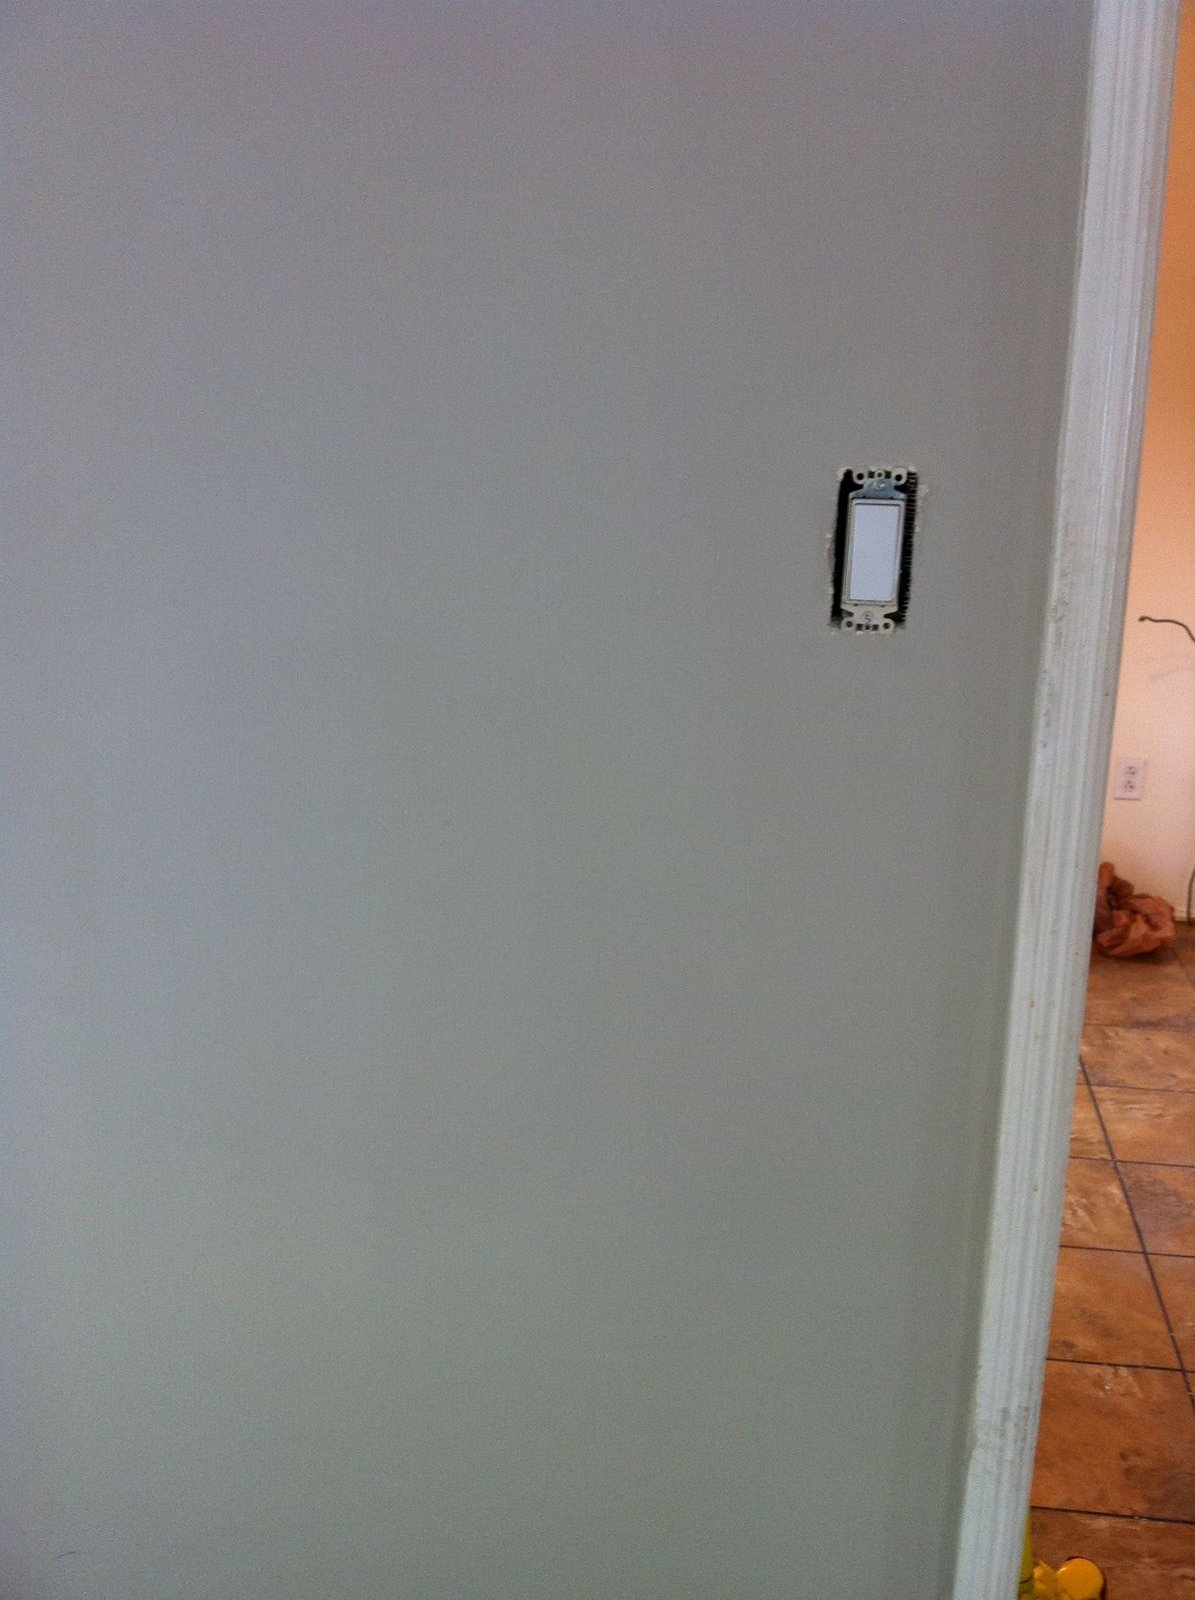
This picture also gives a sneak peak at a little hallway makeover - when we had the floors re-done the floor guy also removed the fugly and non-functioning floor furnaces for us and put drywall/new wood floors in their place.

Before:


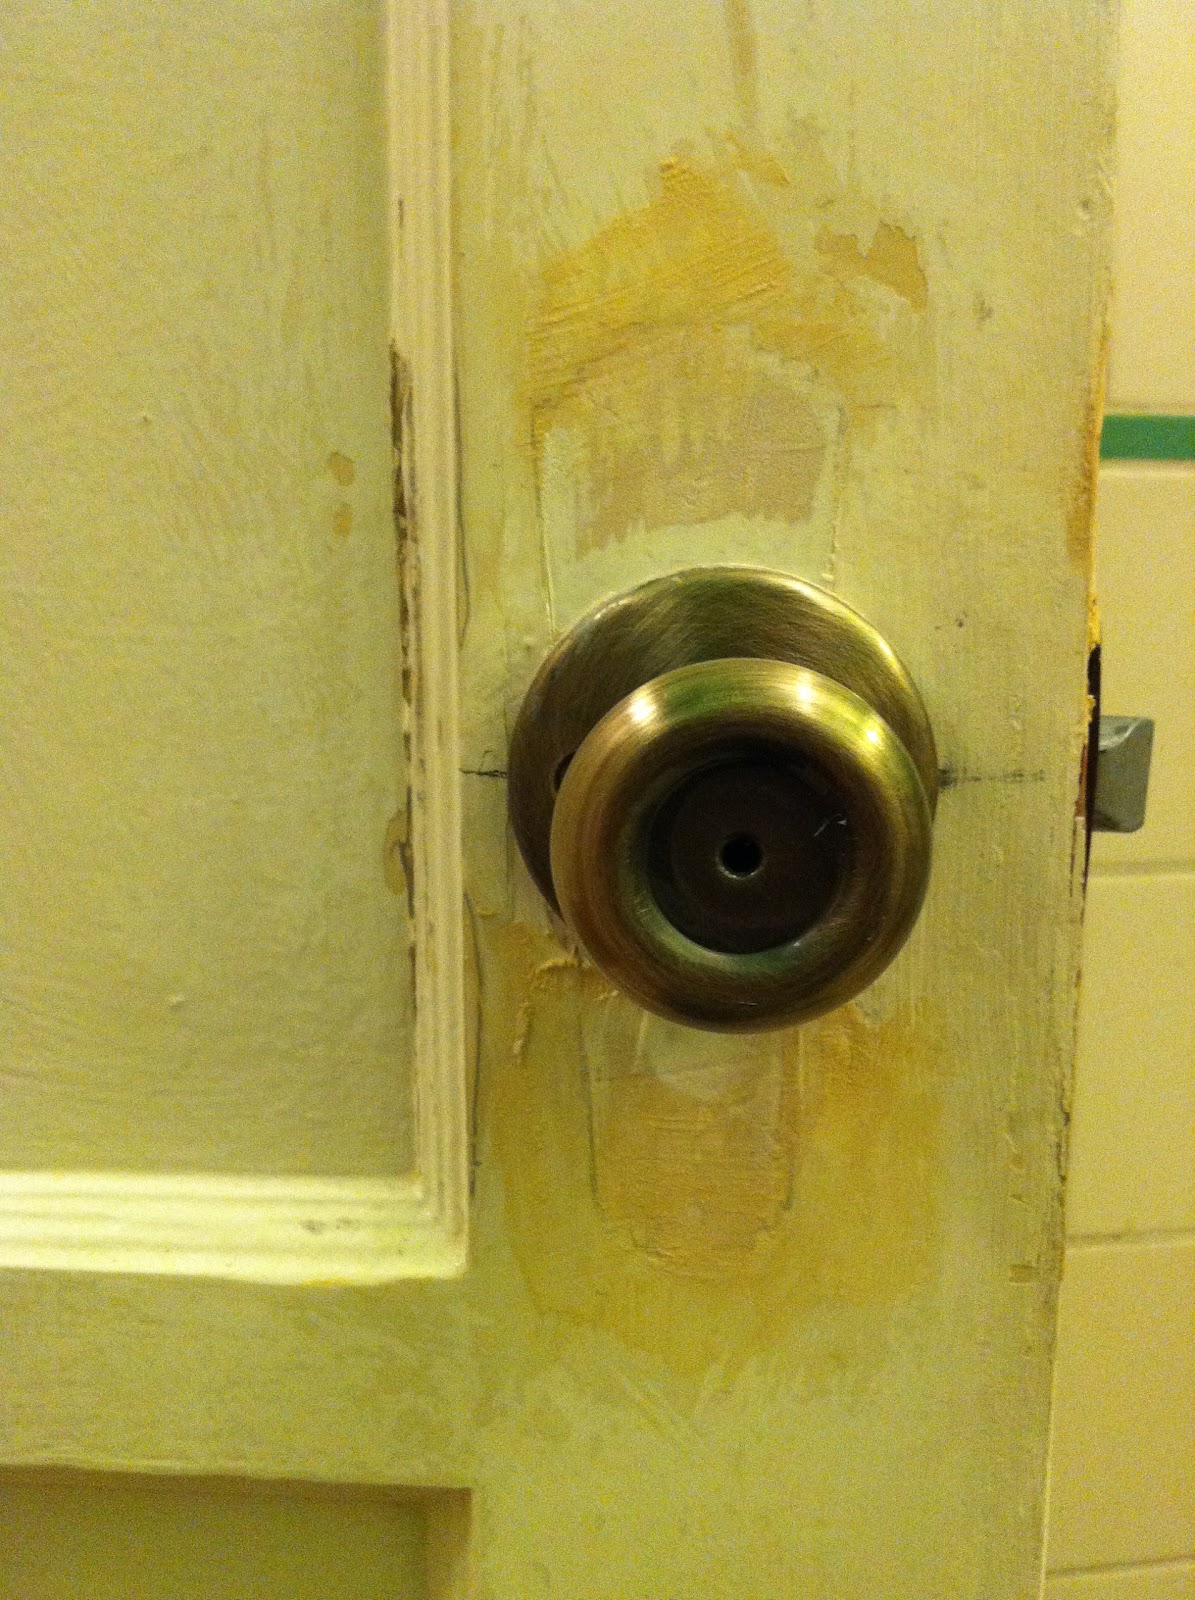
I pulled about a million screws out of the old, crumbling plaster walls.  Then re-plastered.  Then sanded.  Then cried.

After:


I tried to match up the camera angles for the before and afters but it looks like I did a pretty terrible job of that, huh? 

If you can't tell, the window treatments are a work in progress...I mean I think that curtains nailed into the top of the window frame look really nice but I'm thinking actually curtain rods may look even better.  The bedroom windows face the house next door so I needed to get something up quickly. 

The floral curtain is a test.  Florals are totally not my style, but I saw this design on display at World Market and it grew on me.  I thought the colors could be worked into the rest of the room when I get around to decorating.  I was originally going to put up my usual white curtains because I wanted light and airy, but then I thought they made the room look too flat.  The jury is still out on these but I picked up 2 sets on sale (for $22 a panel) just in case.

Before:


Another angle.  Also not shown: the peeling drywall tape on the ceiling that had to be removed...which left a 2" wide strip on the ceiling that had to be patched and sanded as well.  It was uuuugly and took an outrageous amount of time to fix. 

After:


These photos totally didn't line up at all.  Oh well!  This angle shows the original white curtains that I hung/nailed up - too flat, right?  Also shown: the chunky ikea dressers that we bought when we first moved to CA that are on the list to be replaced, and my beloved vanity.  I'm not sure if the vanity is going to live in this room forever but I love that it's in front of a window.  In our apartment my vanity got no light so if you ever saw me and thought "did she put her makeup on in the dark?" you were right, I totally did.

We also painted the ceiling and the crown molding and trim.  So much fun...which I think is why I'm taking a break from painting now.

So that's the master bedroom in it's current state.  Definitely a LONG way from done, but I think our standards are low because I'm just happy to have a room not covered in dirt and dust.

Saturday, March 26, 2011

Work in progress...

So my idea to post every day kind of went to hell.  Oops!  I had a crazy work week with a few 12-15 hour days which made updating a little tough.  Things are moving along here and I'm getting behind on updates, so I wanted to share some progress photos from a few weeks ago to show everyone (and remind myself) where we started.  This was the week before we moved and we had a ton of little projects we wanted to get out of the way before the floors got refinished and we moved in.

patching holes in the walls is not fun!


Dryer drama - it helps to measure your laundry room correctly before ordering a washer/dryer set.  Or you'll end up with a dryer in the dining room.  (Note the sponge-painted beams...shudder...)


Sanding the ceiling leads to creepy photos like this


...and this.  I'm married to this guy and I still think this is the weirdest thing I've ever seen.

So. Much. Dust.

Hard work even for our helpers.


I learned that an awesome homeowner thing that can happen at 11:30pm on a work night when you're cleaning up from painting is when the ancient pipe heading to the kitchen faucet breaks and starts spraying water everywhere.  At least the plumber complemented my electrical tape patch job (after charging us $400 for a new faucet).

How's that for some random updates, eh?  Usually I only remember to take photos at the last minute, but I'm glad I do because things are changing pretty quickly around here.  I'm sure things will level off eventually once we finish our top priority projects (we still don't have a new fence or a garage door...oops!) and hopefully I can do some more in-depth posts instead of cramming 7 random photos with some descriptions and calling it a blog.

I'm planning on posting some updated bedroom photos (hint: we cleaned up all that dust) tomorrow so stay tuned!

Wednesday, March 23, 2011

Badly painted trim haunts my dreams

Another...uh...questionable design choice of the past owners is the weird paint brownish paint color that appears throughout the house.  It's not even brown, it's like a peachy-brown-horrible-pukey color, unevenly applied to fixtures like trim, ceiling beams, and the kitchen cabinets.

Behold:


 This color covered all of the crown molding in the living room and dining area.  That's a lot of crown molding.  The molding itself is original to the house (I think, who knows, I'm making stuff up as I go along) and in decent shape.  It looks like it's made of plaster (again, making stuff up here) so the various cracks give it charm, I think.  Brown paint, not so charming.

One of my first projects was getting to work on painting over the horrible molding.  The uneven brown paint just made it look dirty and the effect wasn't pleasing on the eyes.  I picked up some Home Depot Freshaire paint in semi-gloss - this brand is being discontinued and it was on sale for $14, later on clearance for $5 so I literally have 10 cans - and went to town.  I'd never painted trim before, and I ended up using painters tape only along the bottom of the molding.  Since the molding is old and uneven, I thought using tape would give me a cleaner line along the bottom.  This method worked pretty well, and I didn't care about getting paint on the ceilings since they were scheduled to be re-painted as well.

Painting trim was my after-work project for over a week.  Every day I'd drive to the new house (which we hadn't moved into yet) after work at 7 or 8, change into my painting clothes, and paint for a few hours.  Really fun.  Check out alllll the dirty-looking crevices I had to fill with nice white paint:


It took FOREVER.  I had to do 3 or 4 coats of white paint to fully cover the brown, which is a really daunting task when you're looking around the room at a huge expanse of ugly trim at 9pm on a Tuesday.  But I finished!  All of the crown molding is now finished and it looks fab, if I do say so myself. 


(this picture was pre-ceiling painting so please ignore the dingy dirty ceiling)

It makes such a difference in the room that I'm now seriously considering re-painting the kitchen cabinets until we get around to a kitchen remodel.  It looks so crisp and clean against the newly painted walls, I'd say that it was worth the effort despite how miserable I was at the time.

Now to finish painting the baseboard and the rest of the trim around the house.  The fun just don't stop around here!

Monday, March 21, 2011

Apologies

I'm hearing from my single-digit contingent of readers that there is discontent brewing over the internet due to my complete lack of updating for the past few weeks.  We moved last weekend, and with that craziness, work, and the lack of internet access, I just wasn't feeling it. 

However, I'm determined to try harder.  I'm deliriously tired at almost 1am on Sunday from a full day of work (because if I don't spend my weekends fighting for the legal rights of California's rich people WHO WILL?!?), but I thought I'd send out a quick post and challenge myself to try and post every day this week.  It's going to be crazy, people.

Since I can't muster the energy to hunt down my camera, nevermind find the USB cable, I'm sharing with you some iphone photos of a wonderful feature of our home that's been troubling me.  The great thing about actually living in a house is discovering those (mostly bad) details that you didn't see or didn't care about during the purchase process, that will now slowly start to bother you and make you want to knock on the previous owner's door screaming "WHYYYYY".  Or maybe it's just me.  Anyhow, here's what bugging me this week:


Every. Single. Interior. Doorknob. In. Our. House. Looks. Like. This.  All 6 of them.  Badly puttied (puttyed?), unpainted, crooked, and overall looking like they were installed by a team of drunken monkeys.  Here's another view:


I've been lamenting over the state of our doors and trying to think up a solution.  Do we try and salvage with some wood putty, sandpaper, and paint?  Do we just replace all the interior doors sometime in the future, along with all of our other futureprojects that may or may not actually ever happen?  Who knows.  I hope you didn't come here looking for answers, because I got nothin'.

Then, while brushing my teeth in the bathroom this morning, I spotted THIS, which I had somehow never noticed before.  A LONE SURVIVOR!


Yes, that's right, THIS is what had been replaced. 


A lovely, unique door fixture that totally fits with the original character of the house.  I'm not 100% sold on the crystal but I love the art-deco-esque shape of the metal - the outline of which you can see on all the badly puttied doors around the house.  But nevermind what I like, because they're all gone, except for this brave soldier who escaped unharmed on the side door to the bathroom.

This post is actually kind of depressing.  We have a problem with no solution and one beautiful tragic reminder of the doors that once were.  I should probably go to bed.

Thursday, March 3, 2011

Sleepy doozins

As it turns out, buying and preparing to move into a house is EXHAUSTING.  I keep meaning to post more, but our schedule lately has been a little crazy town.  Work until 7 or so, then slipping out early (ha) to head over to the house and pant.  It's currently 12:23 in the morning and I'm coming down off my post-work buzz (I got home at about 10:30 today), so here's a quick recap of the goings-on as of late.

We ended up closing on Friday, and got up bright and early Saturday to get to work.  We made our first of many trips to Home Depot to pick up some provisions, as well as a trip to a far flung East LA Sears because the had a $40 reciprocating saw (on sale from $110!) in stock that was a must-have on our list.

We also had a dumpster delivered on Saturday.  I ordered a 4x4x6 which seemed like so much room.  We then proceeded to fill the dumpster in about 2 hours and had to order another one.  Oopsie!  So much of this first week has been getting rid of stuff left behind.  Old scrap wood, horrible lawn furniture, palm tree debris, etc.  It's kind of cathartic to throw everything away...except for the fact that it's $155 every time we fill a dumpster.

Once we got to the house I started knocking down the garage faux wall...
...and Sean finished

We also picked up some paint samples to swatch on the walls.


After much deliberation we picked the top swatch, Revere Pewter by Benjamin Moore.  We were going for a neutral that wasn't too boring.  We got the color matched at Home Depot...and it looked super different once we got it on the walls.  I think I actually like the Home Depot version better, but it's less brownish and more grey.  I don't think the iphone is the best gauge of color, but you get the idea.


We couldn't figure out what to do with the dowdy looking fireplace...


Until we figured out that all the old-fashioned brass fixtures were not bolted down.  Bye bye!


Alas, the yard continues to look more white trash by the second.


I think that's it for (almost) week one...or at least everything I took iphone photos of.  I've also been doing battle with the crown molding in the living area.  It's a horrible off white, with a brown color sponge painted on top.  Basically it just looks dirty.  I'm on my third coat of white paint and they're just starting to look crisp and white instead of looking like they haven't been cleaned since the house was built in 1937.

Don't even get my started on the number of screws and nails I've removed from the (plaster) walls and patched.  It's been traumatic.